
This year, I have decided that I want to get more organized with my reader's notebooks that my kids are using. In the past, they have kept their notebooks in their desks, but I am sure you all know that notebooks get torn up and lost so easily that way. I have been perusing the web, and have seen lots of magazine boxes and plastic bins being used to hold the reader's notebooks, and that is the route I decided to take.
Problem.
I cannot afford to buy 25 plastic bins for my kids. Now I know there are cheap options, and I also know that a dollar goes a long way at the dollar tree. But, I just wanted to make this happen for FREE.
like, totally free
Cue Homemade Reader's Notebook Book Box Project! I have been saving up cereal boxes, and the kids are I are going to personalize our own book boxes next year. Last night, I created my own "sample" book box to show the kids (and you) how to make them!
Step 1: Scrounge up magazines, pictures, a cereal box, modge podge and a paint brush, construction paper, scissors, glue sticks, and markers. I used washable markers, and ended up wishing I had gone with Sharpies or other permanent versions.

Step 2: Cut down your cereal box to the shape of a magazine holder.


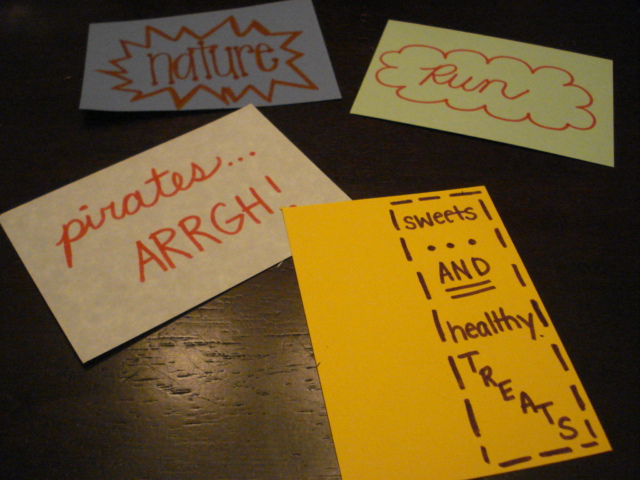
Step 6: Glue the words onto your box using the glue sticks.

Step 6: Modge Podge the box using a small paintbrush or sponge brush.
**Note: I used washable markers, and my words bled when I modge podged them. In retrospect, I would either use sharpies or NOT modge podge over the paper pieces that I drew on.


All Done!! Your dried finished product will be ready to hold books and notebooks, and is a much more personalized version of the book box than a plastic bin!

Catch ya later! I have a lot of cereal to eat!

No comments:
Post a Comment