Hello and Welcome to AUGUST!!
Can you believe it is already August!? Where did the last 2 months go!? I don't know about all of you, but while I love summertime, I am secretly excited about getting back into the swing of things. Shhh....don't tell.
Anyway, in preparation for next year, I spent some time making sample Reader's and Writer's notebooks for my kids to see before the make their own this year. And, for your viewing pleasure, I have included a step by step guide for you! **Also, in keeping with my "save money" theory that I am trying to stick with this year, all of the materials that I used were scrounged up in my classroom and at home.
Step 1: Start out with a marble notebook, construction paper, scissors, marker, glue, and tape. I ask my kids to bring in marble notebooks, but a notebook with rings would be fine too:)
Step 2: Decide how you would like your students to divide their notebooks. I decided for my reading notebook, that I would have 4 sections: Notes (10 pages), Class Work (30 pages), My Reading (30 pages), and Guided Reading (30 pages). You should know this in advance so that you do not allot too many pages to any one section.
Cut the construction paper to fit the size of the pages in the notebook. Fold that page to make 2 triangles. They will not "line up".
Step 3: Cut the paper into 2 triangles. You will need to do this for as many dividers as you want to have. I have 4 triangles, which took two sheets of construction paper.
Step 4: Label the construction paper with the headings that you would like them to have. I used red marker to match the red front of my notebook, and I chose to have all of the dividers look the same, to make the notebook more cohesive.
Step 5: Glue the pages down only around the two edges that are on the sides of the notebook. (This will be the two sides which make a right triange.) I also used tape to reinforce. The construction paper should make a pocket on the page.
 |
| You can see the tape on the side of the page. This will help ensure the construction paper does not fall out or peel up. |
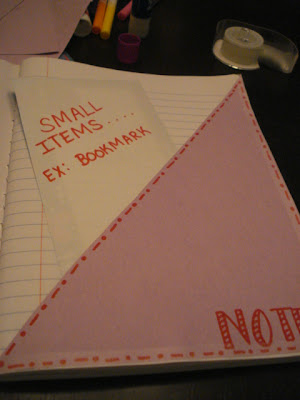 |
| This is how the paper will serve as a pocket. |
Step 6: Repeat the steps for the remainder of the pages in the notebook. Use the extra construction paper to create a title for the front of the notebook. I chose for my title to match the rest of the dividers in the notebook.
**For my writing notebook, I followed the same process. I chose to have 3 sections in the writing notebook: Notes (10 pages), Writing (All pages in the middle of the notebook), and Words (the last 4 pages). I used a word wall template on the last four pages for students to record new vocabulary and tricky words to use as a reference when they are writing. There are pictures of the Writer's Notebook below.
 |
| Writer's Notebook |
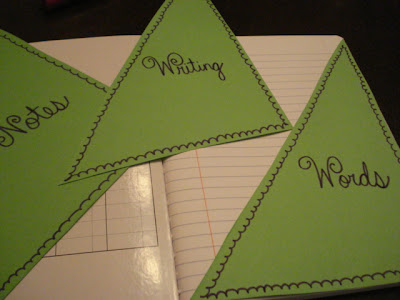 |
| dividers |
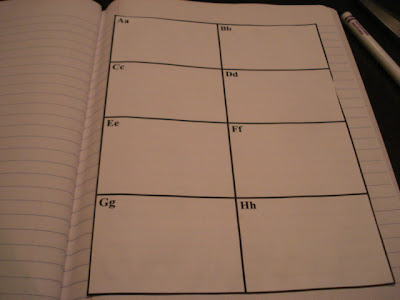 |
| Individual Word Wall for each notebook |
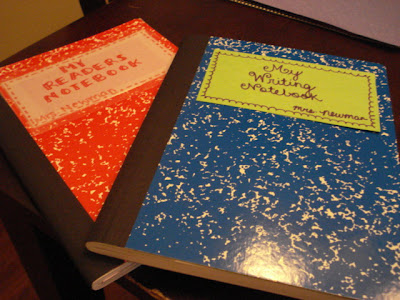 |
| Finished Products! |
Best of Luck on getting everything ready for the year!